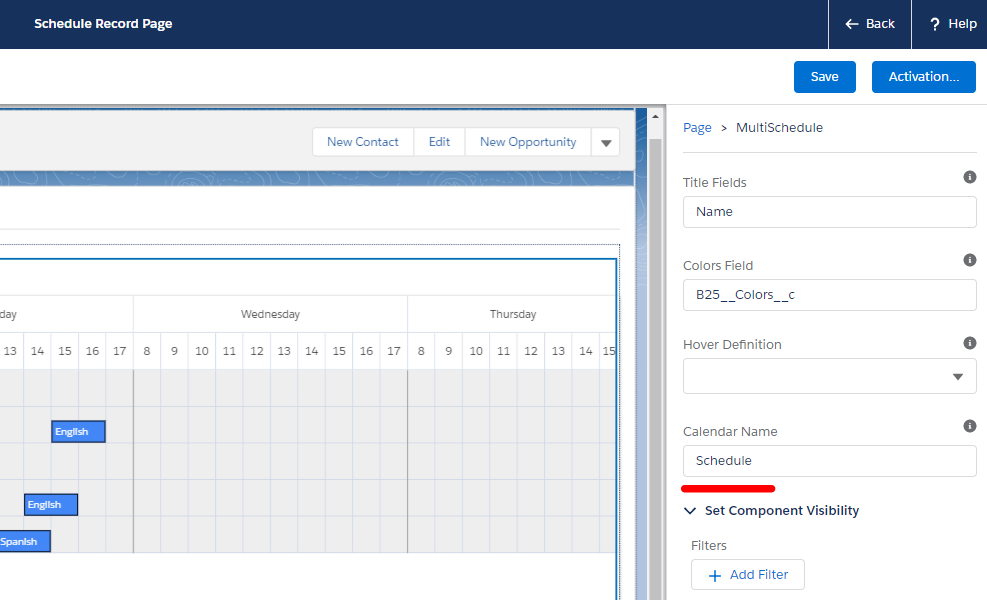
For the Multi Scheduler to function properly, there is an additional property that needs to be set: Calendar Name. This should be the name of an existing Calendar record of type Schedule Calendar. If you have not yet created such a record, follow the steps in the next section to create one.
Create a Schedule Calendar
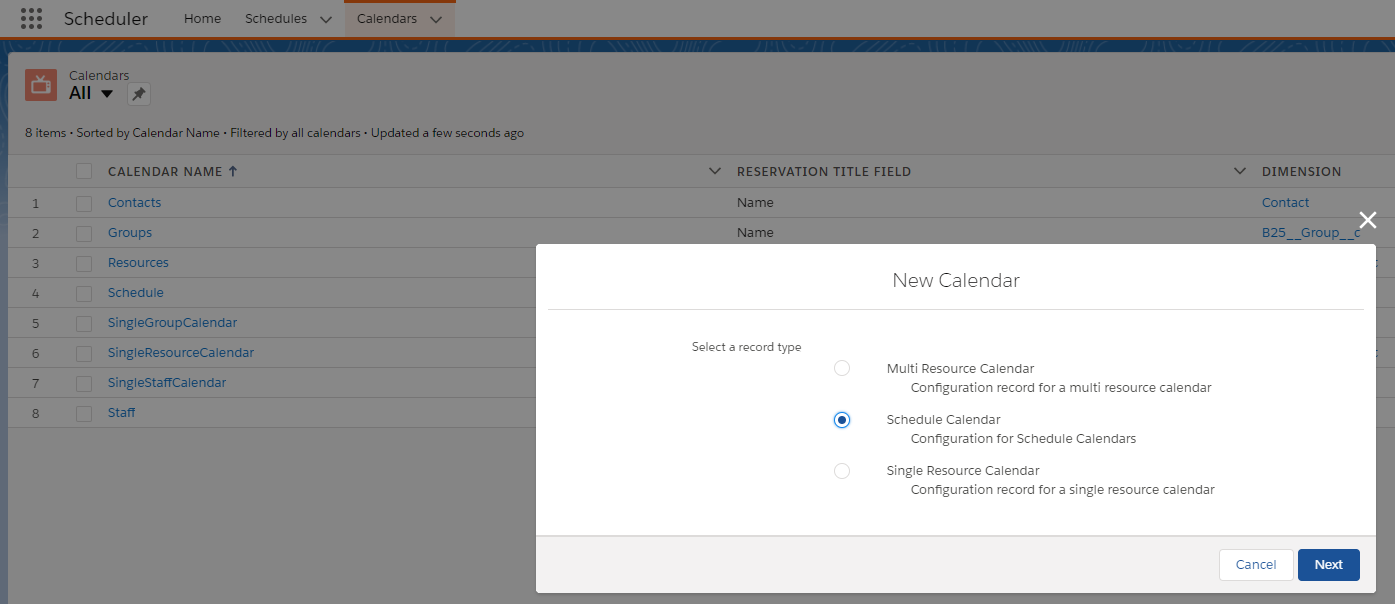
Go to the Calendars tab and create a new Calendar record of type Schedule Calendar.
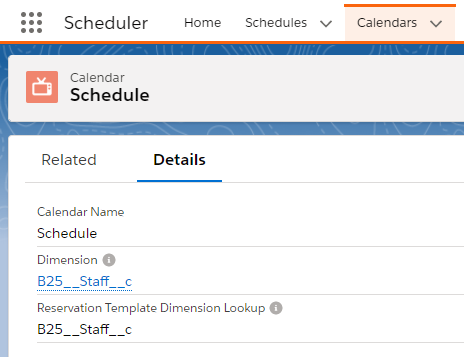
Fill in the Calendar Name. For our example we will name the record 'Schedule'.
Fill in the Dimension. For our example we will select the Staff Dimension that comes with Booker25 out of the box.
Fill in the Reservation Template Dimension Lookup. This needs to be the API name of a lookup field from Reservation Template to the selected Dimension. For our example we will enter 'B25__Staff__c'.
Set the Calendar Name on the component
Now that you have a Calendar record, edit the Schedule record page and fill in the name you gave to the Calendar record in step 2 of the previous section ('Schedule' in our example). See Single and Multi Scheduler if you are not sure how to edit the Schedule record page.
On this page |
|---|