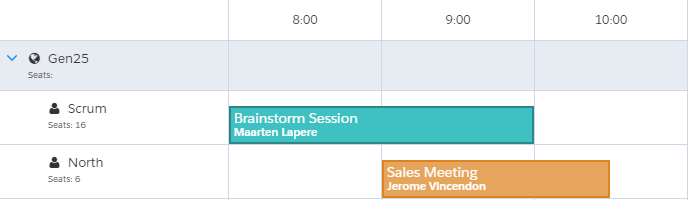
When viewing the calendar, your users will want to see information on each Reservation on the calendar. To show fields from the Reservation on the Reservation Block, you need to define Reservation Titles.
Find the Reservation Title Group to edit
A Reservation Title Groups group Group groups together Reservation Titles, allowing them to be reused on multiple Calendars and Views.
- Go to the Reservation Title Groups tab
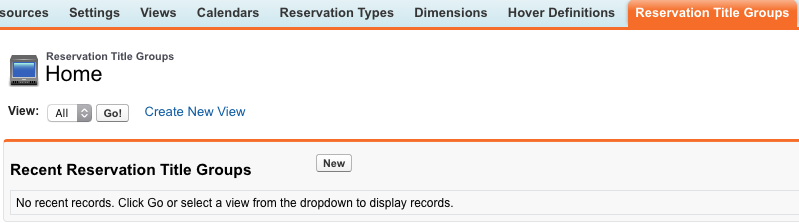
- Click New
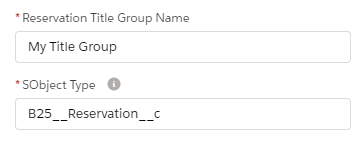
- Give the Reservation Title Group a name. For this example we will name it 'Meeting titles'
.
- Go to the Reservation Display Contexts tab
Go to the'All' listview, and find the row that you want to edit the hover for.
Info By default there is only one row in the Reservation Display Context list. If there are multiple and you're not sure which one to edit, check out this article for an explanation of how contexts are applied to reservations.
- On the desired row, click on the record name in the Reservation Title Group column as pictured below:

| Info |
|---|
When creating a new Reservation Title Group yourself, in the required field 'SObject Type' make sure to fill in 'B25__Reservation__c'. The only exception is when creating title groups for the Schedule calendars, in which case the value should be 'B25__Reservation_Template__c'. |
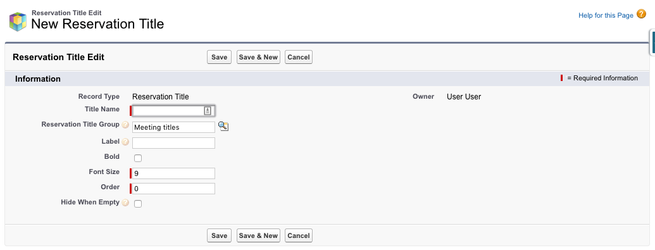
Creating Reservation Titles
A Reservation Title is basically a field to be displayed, with some extra information about how to display it. By default, Booker25 comes with a number of titles preconfigured on the fallback title group. Feel free to remove or edit these to suit your needs. Follow the steps below to create a new title.
- Navigate to the Reservation Title Group we just created
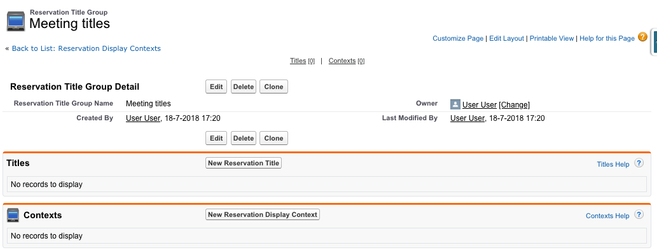 Click New Reservation Title on the record that you want to modify.
 - Go to the Related subtab and find the Reservation Titles related listSelect Reservation Title as Record Type
 .
.
- Click New and make sure to select the Reservation Title record type.

- In the Name field, put enter the API name of the field you want to display. This can be a field on a related object, such as 'B25__Account__r.Name'.
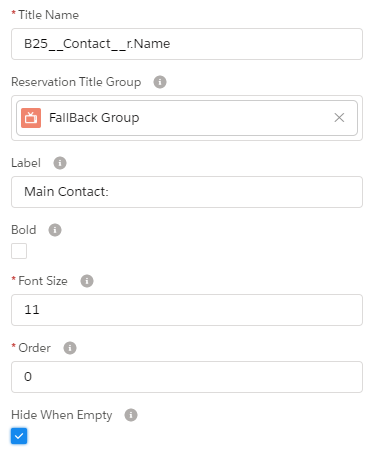
- Optionally, fill in a label Label to put in front of the field value. This label will be displayed directly before the value, so if you want to separate them make sure to put a space at the end.
- You can change the appearance of the title using the Font Size field and the Bold checkbox
- You can control in what order the fields appear using the Order field (lower numbers appear higher on the reservation)
- The Hide When Empty checkbox wil will hide the this Reservation Title (and also the Label) if the field specified reservation does not contain have a value for this ReservationFor example: this title will show the Contact name with the label 'Contact' in bold with font size 12 and hide the Title if the Reservation does not have a Contact or that Contact does not have a name
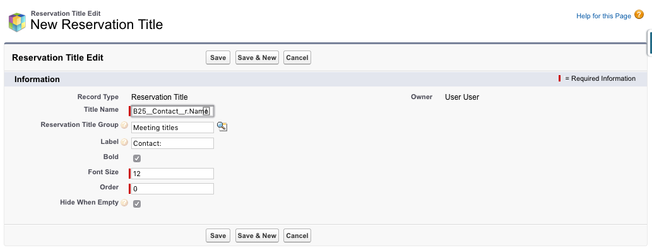 the specified field.
Showing the titles on the calendar
For more information on how to show title groups on calendars see Customise the Reservation fields shown on the calendar and hovers
Related articles
| Filter by label (Content by label) | ||||||||||||||||||
|---|---|---|---|---|---|---|---|---|---|---|---|---|---|---|---|---|---|---|
|
| Page Properties | ||
|---|---|---|
| ||
|
| Panel | ||
|---|---|---|
| ||
|