| Excerpt | ||
|---|---|---|
| ||
Customize the contents of the popup when a user hovers over an event. |
...
This article will explain how to create a new Hover Definition, how to add fields and related lists to it, and how to apply it to the Scheduler.
| Tip |
|---|
Even though the label of the object is Hover Definition, the API name of this object is B25__Reservation_Display__c. In older Booker25 older GoMeddo versions, the label of the object was Reservation Displays, so look for this if you can't find Hover Definition. |
Create a new Hover Definition
First, let's create a new Hover Definition that will act as a collection of fields and related lists to show in the hover popup.
- Open the app launcher and search for the tab Hover Definitions
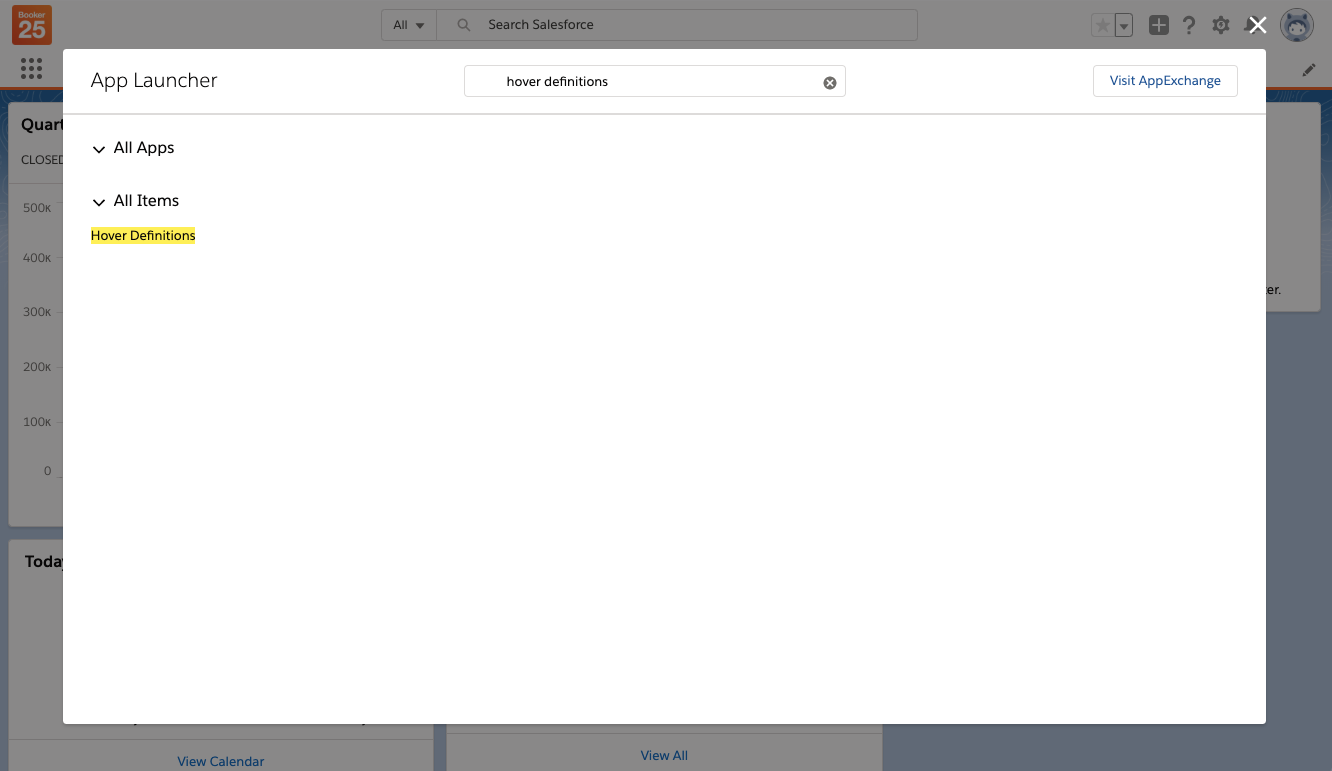
- On the Hover Definitions tab click New
For the SObject Type field input B25__Reservation_Template__c.
Warning Note that this last step is different from creating Hover Definitions for the normal reservation calendars, where the SObject Type must be B25__Reservation__c.
Add fields to the Hover Definition
We have now defined a Hover Definition, but it will not show any fields or related lists yet. Let's add some fields.
- Navigate to the related tab of the Hover Definition
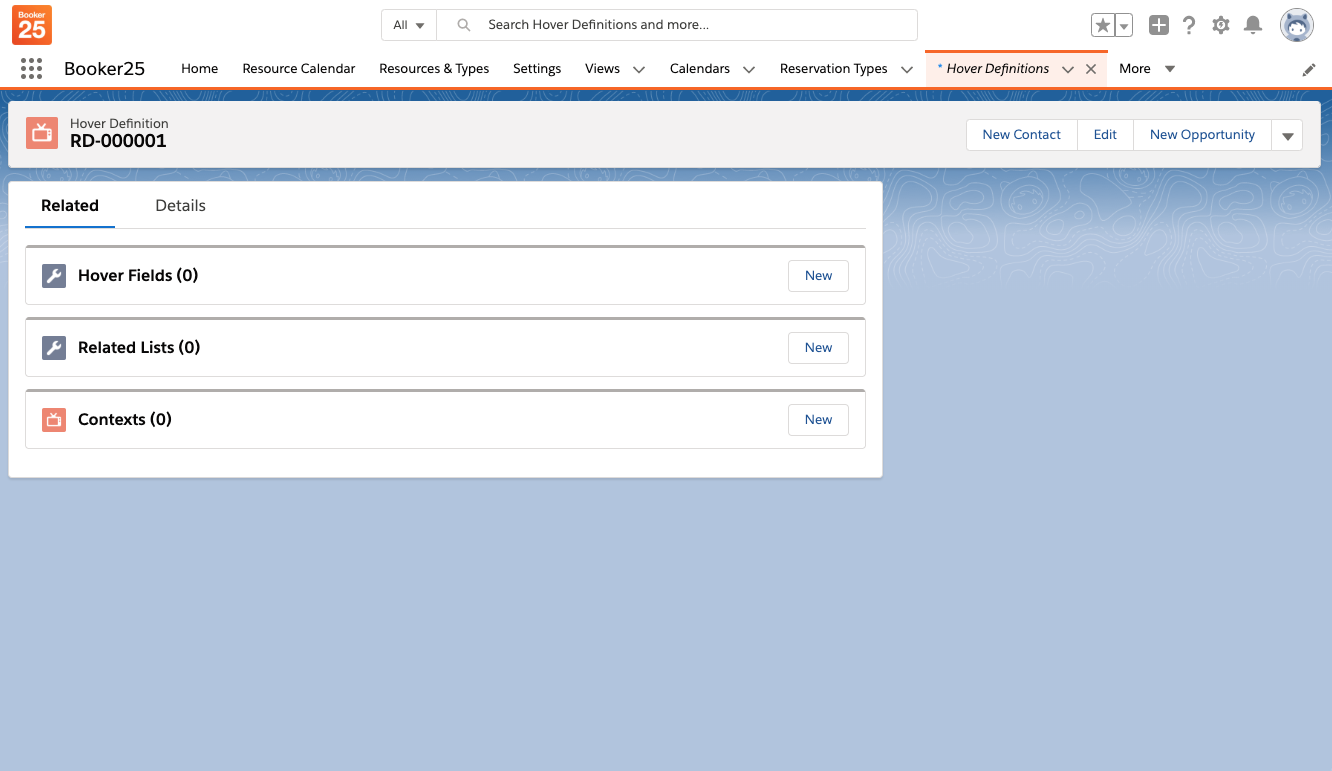
- Click new on the Hover Fields related list.
- Fill in the fields on Hover Field (see table below)
- Save the record and repeat the process for all fields you want to display.
...
The Hover Definition dropdown mentioned above always has a special option 'Use Contexts'. If you select this option, Booker25 GoMeddo will use the same behavior behaviour as the normal calendars. You can find more information on how Reservation Display Contexts work in this article: Customise the Reservation fields shown on the calendar and hovers
...