The Scheduler offers two ways to display your Schedule Calendars: Single and Multi.
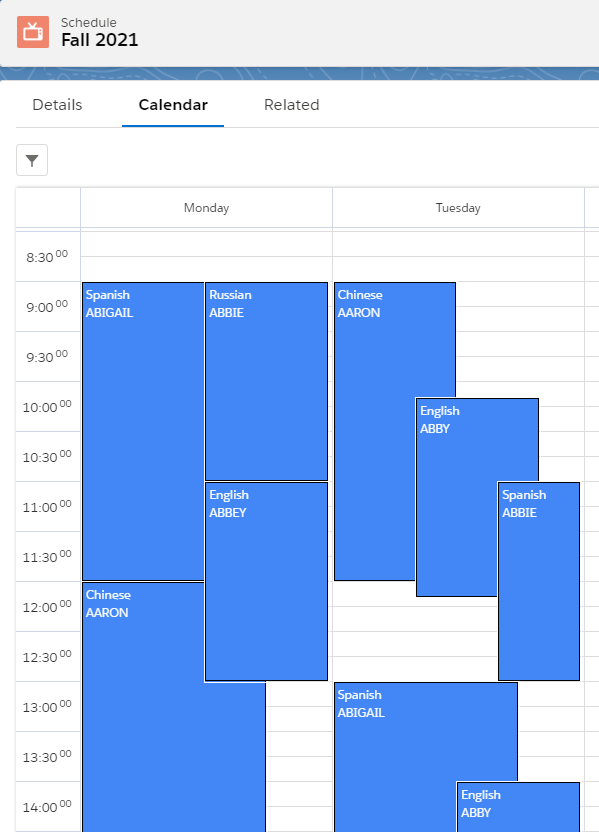
The Single Scheduler shows days on the top horizontal axis, and hours on the left vertical axis:
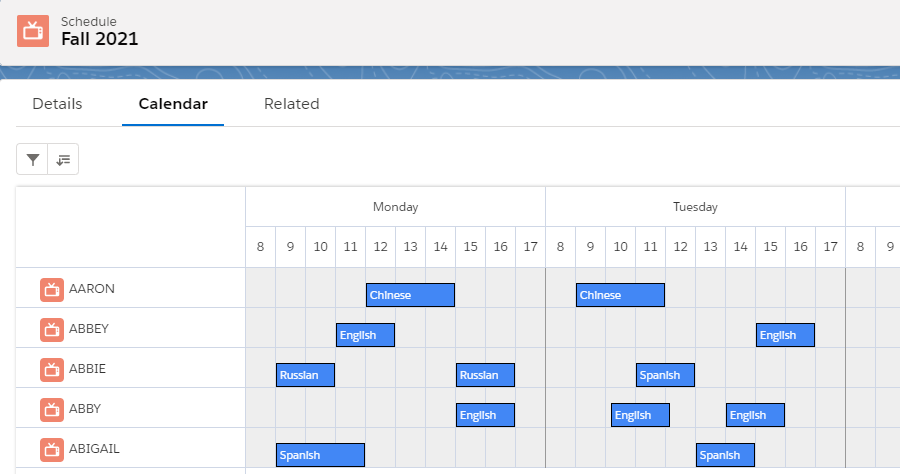
The Multi Scheduler shows days and hours on the top horizontal axis, and the relevant dimensions (either Staff, Resources, or any other custom object) on the left vertical axis:
Editing the Schedule record page
Assuming you are on a Schedule record page, you can configure which display to use by clicking on the gear icon and then on 'Edit Page':
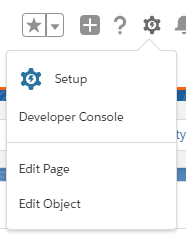
If you are not on a Schedule record page, another way to get there is to click on the gear icon and then Setup > Object Manager > Schedule > Lightning Record Pages.
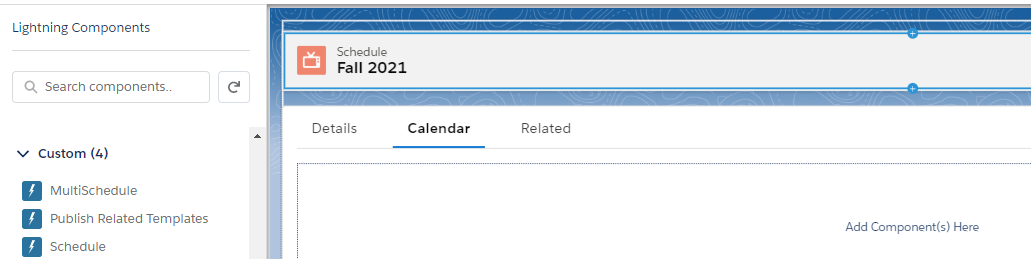
Now select either Schedule (for the Single Scheduler) or MultiSchedule from the Lightning components on the left hand side, and drag it onto the page:
Additional Configuration for the Multi Scheduler
Setting the Calendar
For the Multi Scheduler to function properly, there is an additional property that needs to be set: Calendar Name.
To do this, first go to the Calendars tab and create a new Calendar record of type Schedule Calendar.

Fill in the two required fields: Dimension and Reservation Template Dimension Lookup.
To get started, you could select the Staff Dimension that comes with Booker25 out of the box.
For Reservation Template Dimension Lookup, it's important that you enter the API name of a lookup field from Reservation Template to the selected Dimension.
For the Staff Dimension example, you can enter 'B25__Staff__c', which is the name of the lookup from Reservation Template to the Staff object.
The result will look like this:

Now edit the Schedule record page and fill in the name you gave to the Calendar record ('Schedule' in our example)
