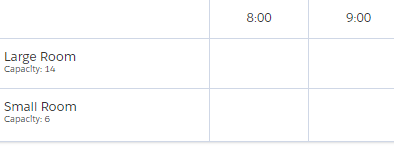
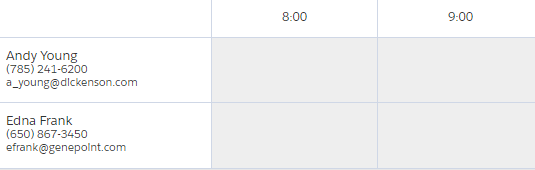
This article explains how to customize what information is shown on each resource (or any other dimension) displayed in the left column of a multi calendar. You can use this to display a resource's capacity or a staff member's contact information, to name a few simple examples.
Instead of pulling data directly from fields, it's also possible to execute your own Apex logic to generate values to be displayed. This is explained in the following article: Dynamic resource titles.
Create a Resource Title
- Go to the Calendars tab and find the calendar record that you want to edit.
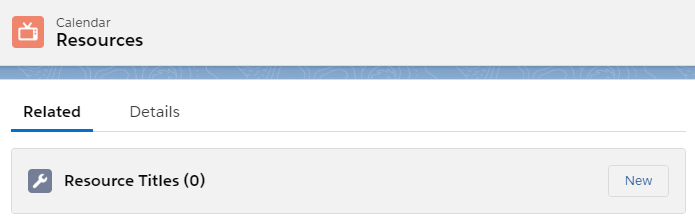
- On the Related subtab, find the Resource Titles related list and click New.
- Make sure to select Resource Title as the record type, and click Next.

- For the Title Name, enter the API name of a field that you want to display. You can also enter fields on a related object using a cross object notation. For example, 'B25__Contact__r.Phone' would be a valid name on a Staff calendar.
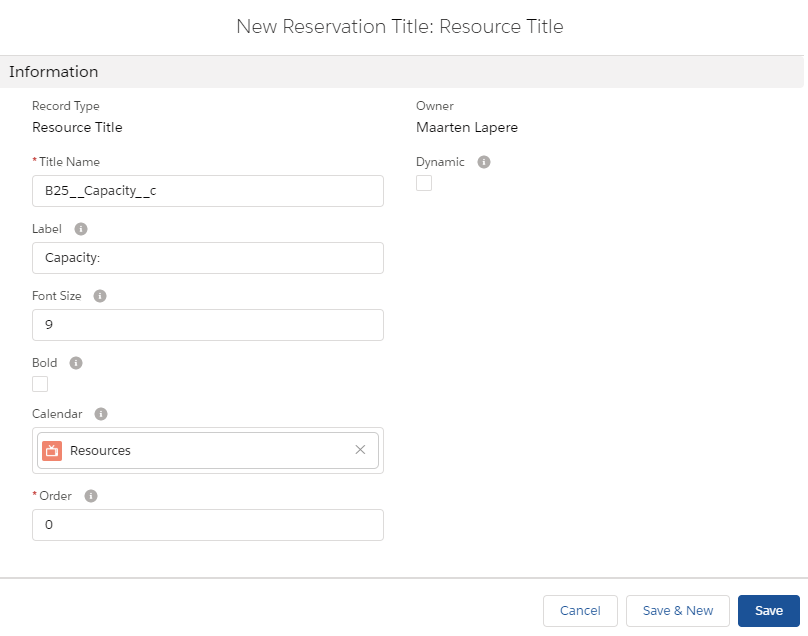
- Use the other fields to control how the information should be displayed, such as the font size, boldness and the order in which multiple titles are displayed. Keep in mind the label will be displayed directly in front of the value, it's usually a good idea to have it end with a space character.
- Leave the Dynamic checkbox unticked. Dynamic resource titles are explained in the article Dynamic resource titles.
Related articles
On this page