This article explains how to create a new Lightning App page and add a calendar to it.
This article refers to the new Calendar Lightning componentcalendar, which is currently under active development. As such, it does not yet have all the features of different than the Visualforce Calendarcalendar. For more information: Calendar Differences
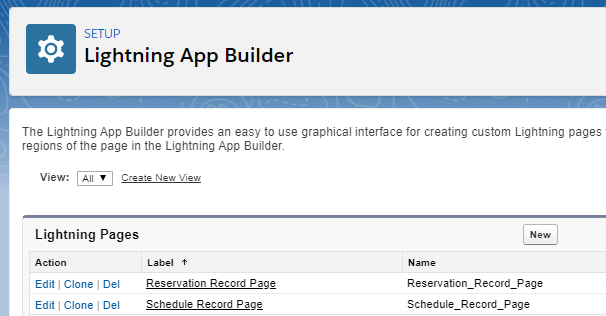
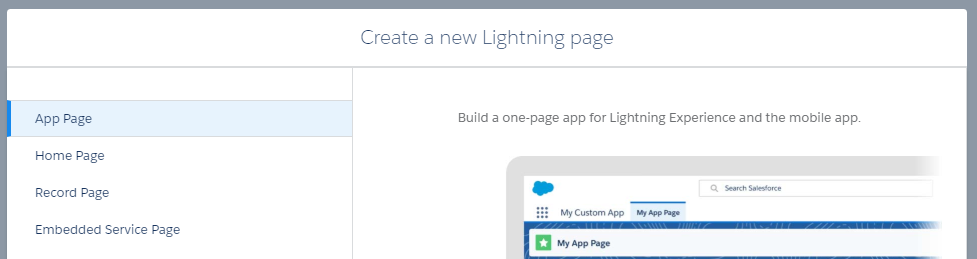
Go to Setup, and then to the Lightning App Builder. Click New.
Select 'App Page', give the page a label, and select a layout. We recommend selecting a layout with at least one large region for displaying the calendar.
From the ‘Custom - Managed’ section in the left panel, drag and drop a calendar component onto the page. At the time of writing, the only calendar component supported is the Multi Calendar, but a Single Calendar will be added in the near future.
In the right panel, select a calendar to display. This is the calendar record that will drive configuration for the component. For more information, see: Set up Calendars & Views

Feel free to add more components to the page, possibly in other regions (depending on the layout you selected in step 2). You can even add multiple calendar components to one page! When you’re done composing, save and activate the page.